Blogs, Sewer pipe camera
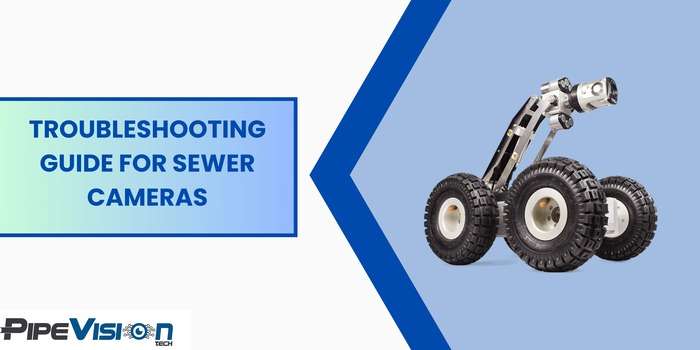
Troubleshooting Guide for Sewer Cameras
Introduction
Sewer cameras, while invaluable for plumbing inspections, can sometimes encounter glitches that hinder their functionality. In this troubleshooting guide, we’ll delve into common issues and provide a step-by-step roadmap for diagnosing and resolving problems that render your sewer camera non-functional.
Identifying Common Issues
Issue 1: No Power
Symptom: The sewer camera doesn’t power on.
Troubleshooting Steps:
– Check the battery or power source to ensure it’s functional.
– Inspect the power cables for any visible damage.
– Confirm that the power switch is in the “on” position.
Issue 2: No Image Display
Symptom: The camera is powered, but the display remains blank.
Troubleshooting Steps:
– Clean the camera lens as discussed in the previous article.
– Ensure that the camera’s video output is properly connected to the display device.
– Test with a different display device to rule out issues with the original monitor.
Issue 3: Poor Image Quality
Symptom: The camera displays a fuzzy or distorted image.
Troubleshooting Steps:
– Clean the camera lens using the appropriate methods.
– Check for any damage to the camera lens or housing.
– Verify that the camera’s settings, such as focus and resolution, are configured correctly.
Issue 4: Camera Freezing
Symptom: The camera freezes during operation.
Troubleshooting Steps:
– Check for loose or damaged cables that may interrupt the signal.
– Ensure the camera and display device are compatible regarding resolution and video format.
– Update the camera’s firmware if applicable.
Advanced Troubleshooting
Issue 5: Internal Component Failure
Symptom: The camera exhibits signs of internal component failure.
Troubleshooting Steps:
– If under warranty, contact the manufacturer for support or replacement.
– Consult a professional technician for a thorough inspection and repair.
Conclusion
Troubleshooting sewer cameras demands a systematic approach, from checking power sources to examining internal components. By following these steps, you can diagnose issues and potentially resolve them, ensuring your sewer camera remains a reliable tool in your plumbing arsenal.
PipeVisionTech: Elevating Your Inspection Experience
For those seeking cutting-edge sewer camera solutions, turn to PipeVisionTech. With a commitment to precision and reliability, PipeVisionTech offers a range of products that empower users to overcome challenges in plumbing diagnostics. Trust PipeVisionTech for a seamless inspection experience.
Frequently Asked Questions
Q1: How can I test if the camera is receiving power?
Use a multimeter to measure the voltage at the camera’s power source or battery terminals.
Q2: What should I do if the camera still doesn’t work after troubleshooting?
If troubleshooting doesn’t resolve the issue, contact the camera manufacturer’s customer support for guidance.
Q3: Can I repair the internal components of the sewer camera myself?
For internal component issues, it’s advisable to seek professional assistance to avoid further damage.
Q4: How often should I update the camera’s firmware?
Check the manufacturer’s recommendations, but generally, updating firmware annually is a good practice to ensure optimal performance.
Q5: Is there a warranty for sewer cameras?
Many manufacturers offer warranties for their products. Check the warranty terms and conditions provided by the manufacturer for specific details.


