Blogs
Sewer Camera Systems: Step‑by‑Step Inspection Guide
Oct
When drains slow down or backups keep returning, the issue usually hides underground. That’s when a sewer camera system becomes essential. With a high‑resolution sewer camera, inspectors can diagnose blockages and structural problems without digging or costly guesswork.
This guide explains every step of a sewer line camera inspection and how certified operators use technology to reveal what’s really happening below the surface.
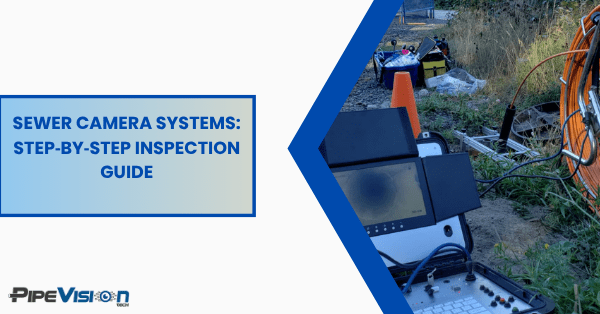
Step 1. Preparing the Right Equipment
The success of an inspection depends on the tools used.
A standard sewer camera system includes:
- A push camera for small lines or a crawler camera for larger mains
- A reel and cable for stable movement
- A monitor or recording unit showing live pipeline footage
- Optional locator for mapping the pipe’s exact route
Before the job begins, lenses are cleaned, lights are tested, and all files are labeled—small steps that ensure big accuracy later.
Step 2. Locating and Accessing the Entry Point

Technicians identify the safest entry, usually a cleanout or manhole. They check for gases and obstructions, note the GPS coordinates, and set the camera in line with the flow to minimize cable strain.
Step 3. Running the Camera
With the inspection scope camera in place, the operator advances through the pipe at a steady pace. The live video feed instantly reveals the pipe’s internal condition—every crack, joint displacement, or deposit shows up clearly.
For long or large‑diameter sewers, crawler systems with self‑leveling heads and lasers add precision depth and ovality measurements.
Step 4. Recording and Analyzing Results
Throughout the inspection, each finding is logged:
- Structural defects like fractures and breaks
- Infiltration issues where groundwater seeps in
- Operational problems such as roots or grease buildup
Modern sewer camera systems capture still frames and depth data automatically, making reporting faster and more reliable.
Step 5. Reviewing Footage and Preparing the Report
Back in the office, footage is reviewed frame by frame. Certified inspectors apply recognized grading standards (like NASSCO codes) to assess condition severity.
An effective inspection report includes:
- Key images and time stamps
- Segment condition grades
- Recommendations for cleaning, lining, or repair
Such detailed documentation helps clients plan maintenance and allocate budgets efficiently.
Step 6. Why Certified Inspections Make a Difference
Technology alone isn’t enough. Skilled, certified operators interpret the footage accurately, distinguishing minor staining from structural damage. Their trained eye—and a precise sewer camera—turns raw data into strategic action for infrastructure management.
Conclusion
From setup to reporting, a professional sewer line camera inspection using quality sewer camera systems gives a clear, data‑driven view of hidden infrastructure.
It prevents unnecessary excavation, minimizes downtime, and extends the life of every network.
A clear picture underground means confident decisions above it—and that’s exactly what today’s advanced sewer cameras deliver.
Don’t wait for small pipe issues to become major excavations.
Our team provides NASSCO‑certified inspections with cutting‑edge sewer cameras that keep infrastructure flowing efficiently.
Reach out today for a consultation or demo.